Most real estate photographers are expected to provide two virtual tour links to their Realtor clients. One version is branded with the agent contact info on it. The other is MLS-Compliant, or unbranded. As far as I know, the majority of MLS systems do not allow agent branding to be visible in their submitted tours.
Previously I posted a real estate photography tutorial showing how to create virtual tours on the cheap with WordPress. We looked at creating a basic tour without any agent branding visible. The end result was a tour link that is MLS-Compliant and suitable for agents to post to their local MLS system.
But as you probably know, we need a way of adding Realtor contact information on the virtual tour so they can post them to sites that allow it. Sites like realtor.com, zillow.com, trulia.com and redfin.com. We also need a way of showcasing real estate video. Due to its popularity, video is making a sharp increase in the real estate marketing. Offering video as part of your services allows you to support the tech savvy clients that are embracing technology.
Follow along in the below real estate video tutorial. I take the original tour that we created previously and add real estate agent branding information and video.
In summary, the following steps are taken to add agent branding and video:
Create a New Parent Page
We create a parent page titled MLS. This allows us to categorize our MLS-Compliant tours under the /mls/ URL to separate them from the branded versions.
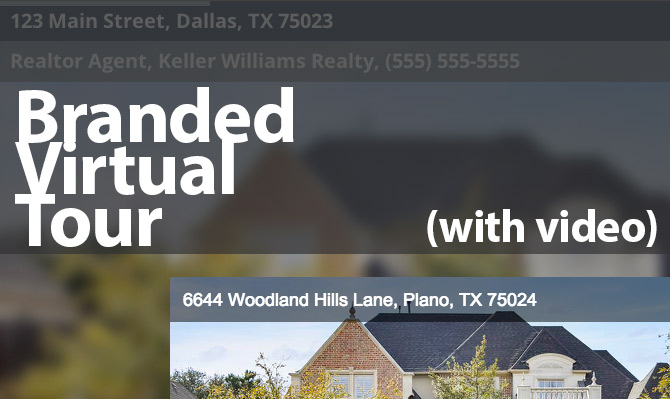
Add Layers to Slide
We add layers to our slides inside Revolution Slider. It allows us to put text layers on top of our slide, showcasing the property address and Realtor’s contact information.
Add Video Layer to Slide
Revolution Slider makes it easy embed a real estate video within our virtual tour. You can add videos hosted on YouTube and Vimeo, or you can do what I do and embed videos from WellcomeMat.com into the tour using embed code. I like using WellcomeMat because I feel they are the current leader in real estate video hosting. They have features like Chaptering that makes for dynamic video playback. Additionally, viewers are less inclined to get distracted by other videos or ads that you may see on a platform like YouTube.
Share the Virtual Tour
You should now have two tour links. One is branded with video, and the other is MLS-Compliant. If you have a non-branded version of the video, feel free to add it to the MLS-Compliant tour. Otherwise you are ready to share the tour links with your Realtor client so they can use them to market their listing!
Understanding and becoming comfortable with the process for creating tours with Revolution Slider will enable you to create tour links for listings that you shoot very quickly. Combined with the power of hosting the photos on Amazon, this low-cost solution is an extremely viable method for supplying slideshow tours to Realtors.
Thanks once again, as I continue to wind my way through the library of information you so generously provide.
Having once been a nature/landscape and portrait photographer (with film) I really appreciate the up to date details of your digital real estate photography. I’m looking at all the info as a prep for me taking better photographs of the design and build construction work I do.
Your site is truly amazing. So much info in all the categories that are critical.
Take care.
Be safe out there.
logan
Santa Cruz, Ca.
Thank you so much for all the info that you have provided here. This is the most useful info that i found on web to start my career as a real estate photographer.
I have a question here. I installed the slider and everything works well, but don’t know how to access full screen for the slider to cover all the browser including header, footer and menu. I really appreciate if you guide me with that.
Glad you are able to use the information here!
I think you need to look at the step “Create a New Blank Page Template” over on the previous post that goes through the tour creation process: https://www.tipsforrealestatephotography.com/how-to/create-virtual-tours-cheap-wordpress/
That should create template that doesn’t have the header/menu/footer, allowing the slider to be the only thing you see in the browser.
Good luck!
Thanks for the quick response, I will try it now!
Thanks again, I am perfectly done with adding the blank page to my theme, but from the beginning I have problem with the size of my images on full screen mode. Images are very big and they cover the background, even though I decrease the size to 500px-300px. I really appreciate If you guide me with this issue. What should be the correct size of the images?
The images should be large, as they need to be able to fill the screen when a user views the tour on a big monitor. Do you have a link you could share with your example? It’s difficult to understand without seeing it. 🙂