If you are like me, you probably don’t clean your sensor very often. I always carry a microfiber cloth with me and clean my lens glass frequently, but I never get down to business and clean the sensor itself. You might need to though to prevent dust spots from appearing in your real estate photos.
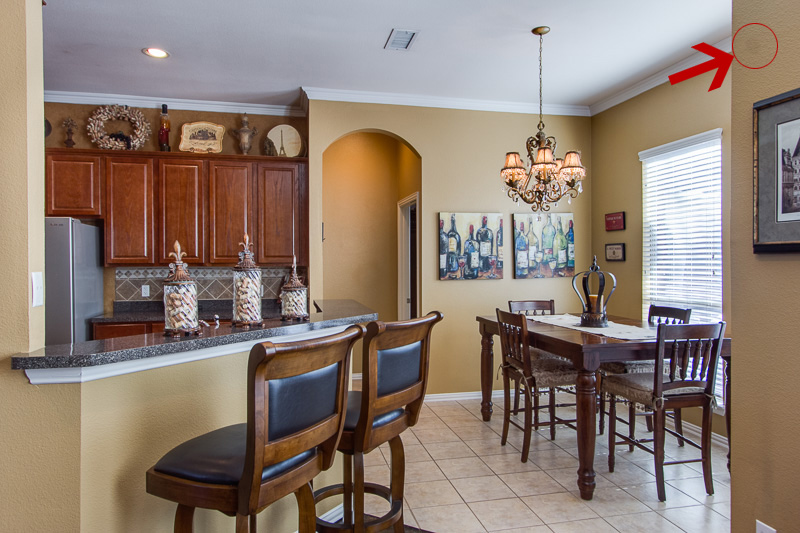
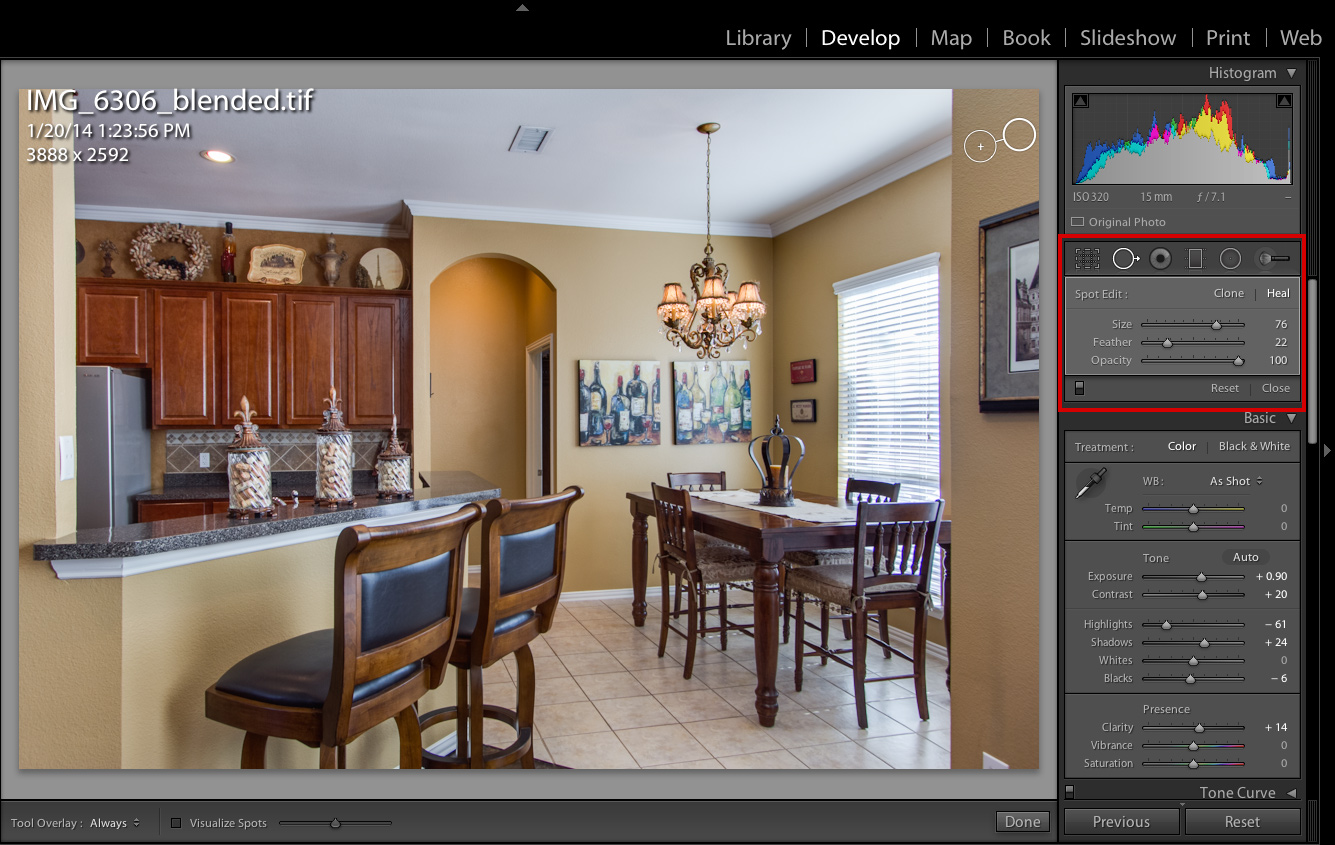
The other day I was editing photos and I edited this photo and noticed something in the top right that didn’t appear to be a part of the home:
The culprit? Dust on the sensor! I’ll be the first to admit that this isn’t life or death. You can barely see the dust spot in the photo above! But we need to make sure that when we see our sensor is dirty, we clean it as soon as possible before it creates a bigger problem.
How Dirty Is It?
Before we check out dirty our sensor is, we need to be sure our lens glass is clean. Use a microfiber cloth and gently clean the lens glass so we know the only dust spots that show in our photos will be from the sensor.
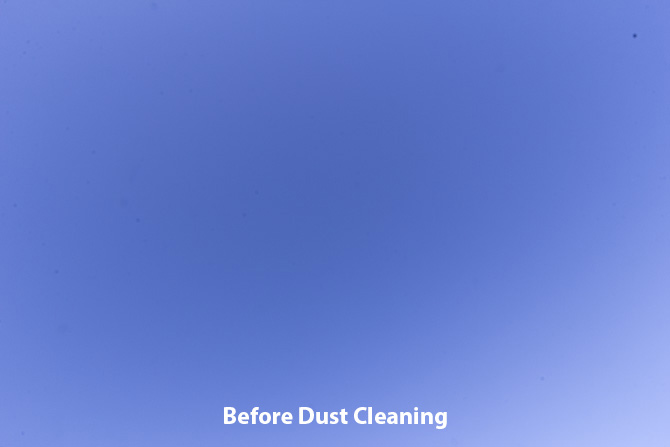
On a clear blue-sky day, head outside with your camera and set your aperture to f/22 and ISO to 100. I use my 10-22mm lens at 10mm when doing this test, but you can probably use whatever focal length you would like. Point your camera straight up to the sky so you only see blue through the viewfinder, set your shutter speed to get a good exposure and take the shot. This is what mine looked like:
See that dust spot in the top right? That’s the spot that was causing the light circle in the interior photo at the beginning of the post. You’ll see plenty of lighter dust spots if you look closely. Those don’t show up in our final photo because when we open our aperture and shoot at f/7.1 or so for our interiors, the light hitting the sensor is spread out more-so than light at f/22. (Find a full answer to the “why does sensor dust not show in wide apertures” question here.)
Cleaning The Camera Sensor
Let’s do some cleaning. We need to remove the dust spots from the sensor, which requires access to the sensor itself. On my Canon 60D I have an option in the menu settings to “Clean Sensor Manually”. This will lock the mirror up on the camera, giving me full access to the sensor. Look up your camera model to see if you have something similar.
Once you have your mirror out of the way, you can take your lens off the camera and attempt to blow air on your sensor to dislodge dust. Use a blower tool specifically made for this purpose. Do not blow into your camera with your mouth, or use a can of compressed air, etc. I have a Giottos Rocket Blower ($7.75 from Amazon.com) that I use to blow air safely onto the sensor.
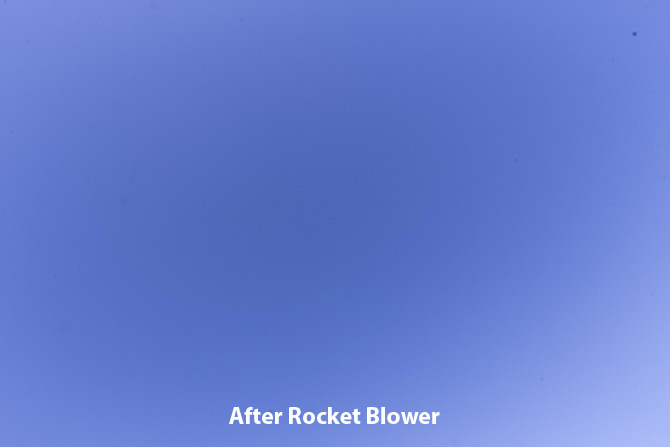
After blowing air onto the sensor, put your lens back on and take a new test shot of the sky. This is the result, showing a comparison of before and after blowing with the rocket blower:
As you can probably tell, not much changed! In fact I noticed some small dust spots on the right-hand side moved position. It’s safe to say I either don’t know how to use the rocket blower correctly, or it just isn’t powerful enough to blow the dust off the sensor.
Swiping The Sensor
I end up swiping the sensor every time with a special swab to get the sensor free of dust. Initially I bought a Digital Survival KIT ($17.90 from Amazon.com) because it comes with the liquid cleaner as well as some swabs.
After numerous swiping attempts, I had to replenish the swabs so I purchased a Box of 12 Sensor Swabs ($37.99 from Amazon.com) and continue to use the cleaning solution that came with the original kit. To do the actual cleaning, you place a drop of the liquid on the tip of the swab, and then you swipe your lens in one direction. You can flip the swab over and re-swipe your sensor, but you are not supposed to re-use the same side of the swab on your sensor. If you pick up some dust on the swab, the last thing you want to do is re-swipe a dirty swab on your sensor so that’s why they recommend to only use each side once.
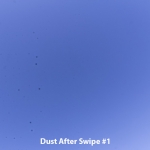
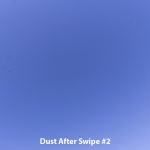
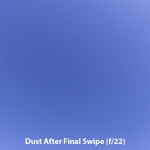
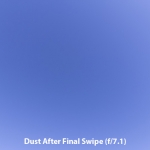
This will take quite a few swipes if you are like me and you are not a professional camera sensor dust remover! Here are the results of my swipes:
You’ll notice that after the 3rd round of swiping, at f/22 I had a pretty clear picture. That means when we open up to f/7.1 which is where we spend most of our time shooting, we definitely won’t be seeing any dust spots. You also probably noticed how bad it looked after the first swipe. If you use too much liquid it will pool/puddle on the sensor, creating more problems than when you first started!
Removing Dust Spots
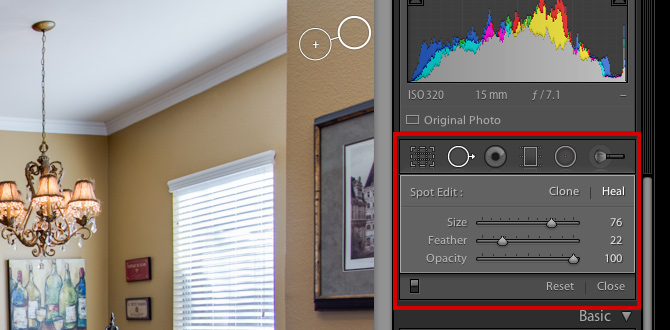
Back to the issue that started this all: I have a batch of real estate photos that have a dust spot in the exact same spot for every photo. How do I remove it? It’s simple in Lightroom. Go into the Develop Module, select the Spot Removal tool, and click on your dust spot. Lightroom generally does a great job at cloning it, but you can always adjust the cloning spot to find the perfect match of surface that you want to use as a replacement.
Happy sensor cleaning!
